Learn how to access your API node’s MongoDB instance.
Note
This is an advanced feature
The REST Gateway offers a broad range of endpoints so that you don’t have to connect to an API node’s internal database directly.
However, if you are developing new plugins for Symbol, or analyzing extensive blockchain data, you might need to connect directly to MongoDB for debugging purposes.
By the end of this guide, you will be connected to your API node database instance and doing some basic queries.
Have an API or Dual node running inside Docker with an open port to the database (See next section).
In the Running a node guide you have used symbol-bootstrap to instantiate and run the necessary node services (catapult-client, API endpoints, databases, etc). For security reasons, all these services run inside Docker containers and, except the public endpoints, they are isolated from the exterior.
This means that the MongoDB database that API nodes use to cache the state of the blockchain is inaccessible by default. To forward its internal port to the host you need to give symbol-bootstrap a custom preset file containing the following lines:
databases:
  - openPort: true
And then use this file when configuring symbol-bootstrap, for example:
symbol-bootstrap start -p testnet -a dual -c custom_parameters.yml
Previously configured nodes may need to be stopped and restarted with the --upgrade argument in order to process the updated custom yml file:
symbol-bootstrap stop
symbol-bootstrap start -p testnet -a dual -c custom_parameters.yml --upgrade
Warning
This will make the database accessible from the host’s TCP port 27017 and it will be extremely vulnerable if this port is publicly exposed, so please be careful. This feature is only recommended for development purposes.
For this tutorial, we are going to use Robo 3T (formerly RoboMongo), a cross-platform MongoDB management tool, to interact with the database.
Download Robo 3T here.
Open the installer and follow the installation instructions.
In case of doubt, follow the official installation docs.
Launch Robo 3T and click on the “Create” link to add a new connection.
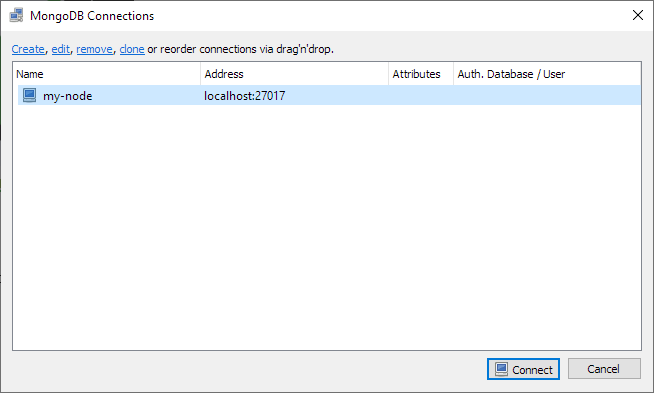
Enter the following details under the “Connection” tab:

Type: Direct Connection
Name: my-node
Address: localhost
Port: 27017
If the node is running locally, click “Connect” and move to the next section Querying MongoDB.
Otherwise, if you are running the node in a virtual private server (VPS), create a tunnel first between your computer and the server.
Go to the SSH tab and add the server’s details:
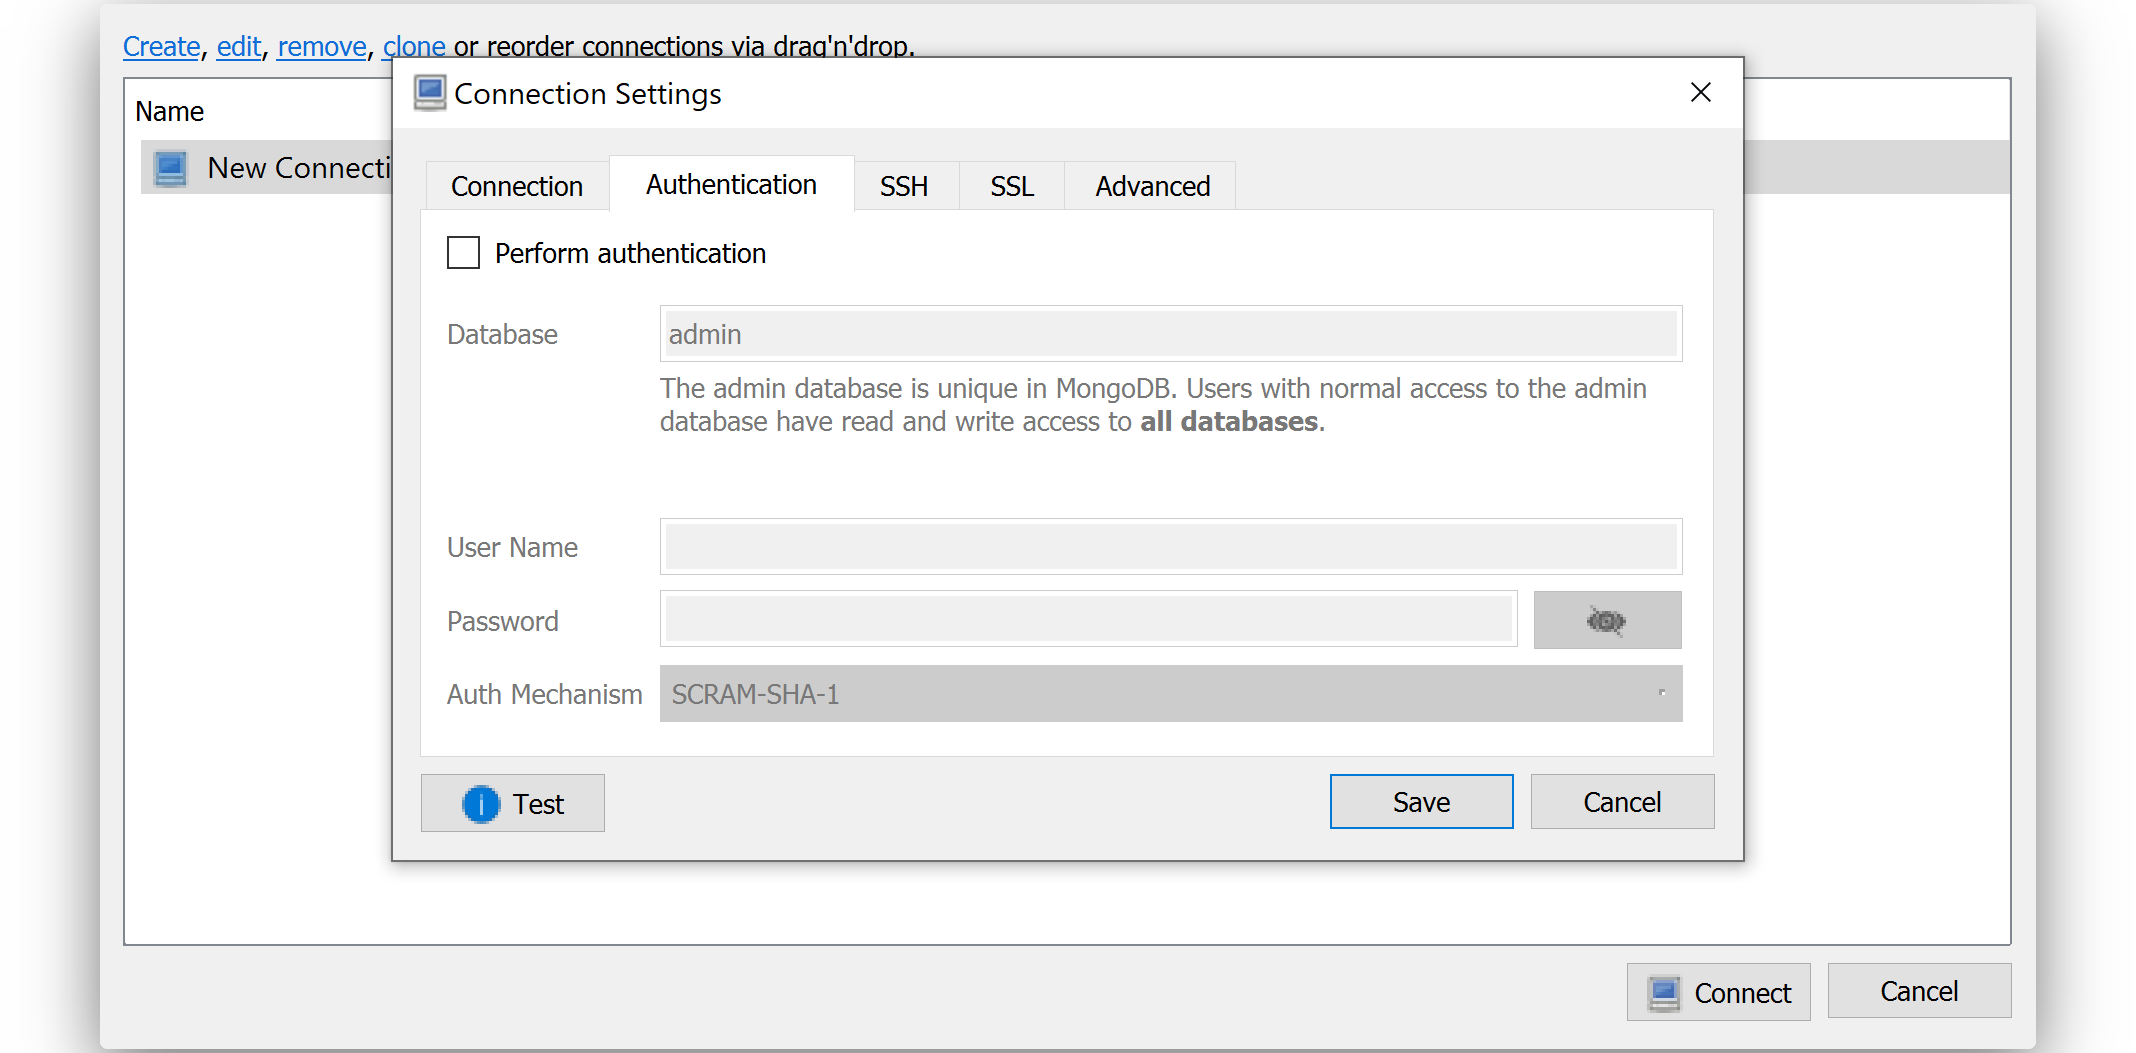
Replace the SSH Address, username, and authentication method.
After you click “Connect”, you should see the MongoDB collections under the database named “catapult”.
Note
Only use this method to read from the database. Do not alter any document directly on MongoDB.
On the left sidebar, open the collection you want to query.
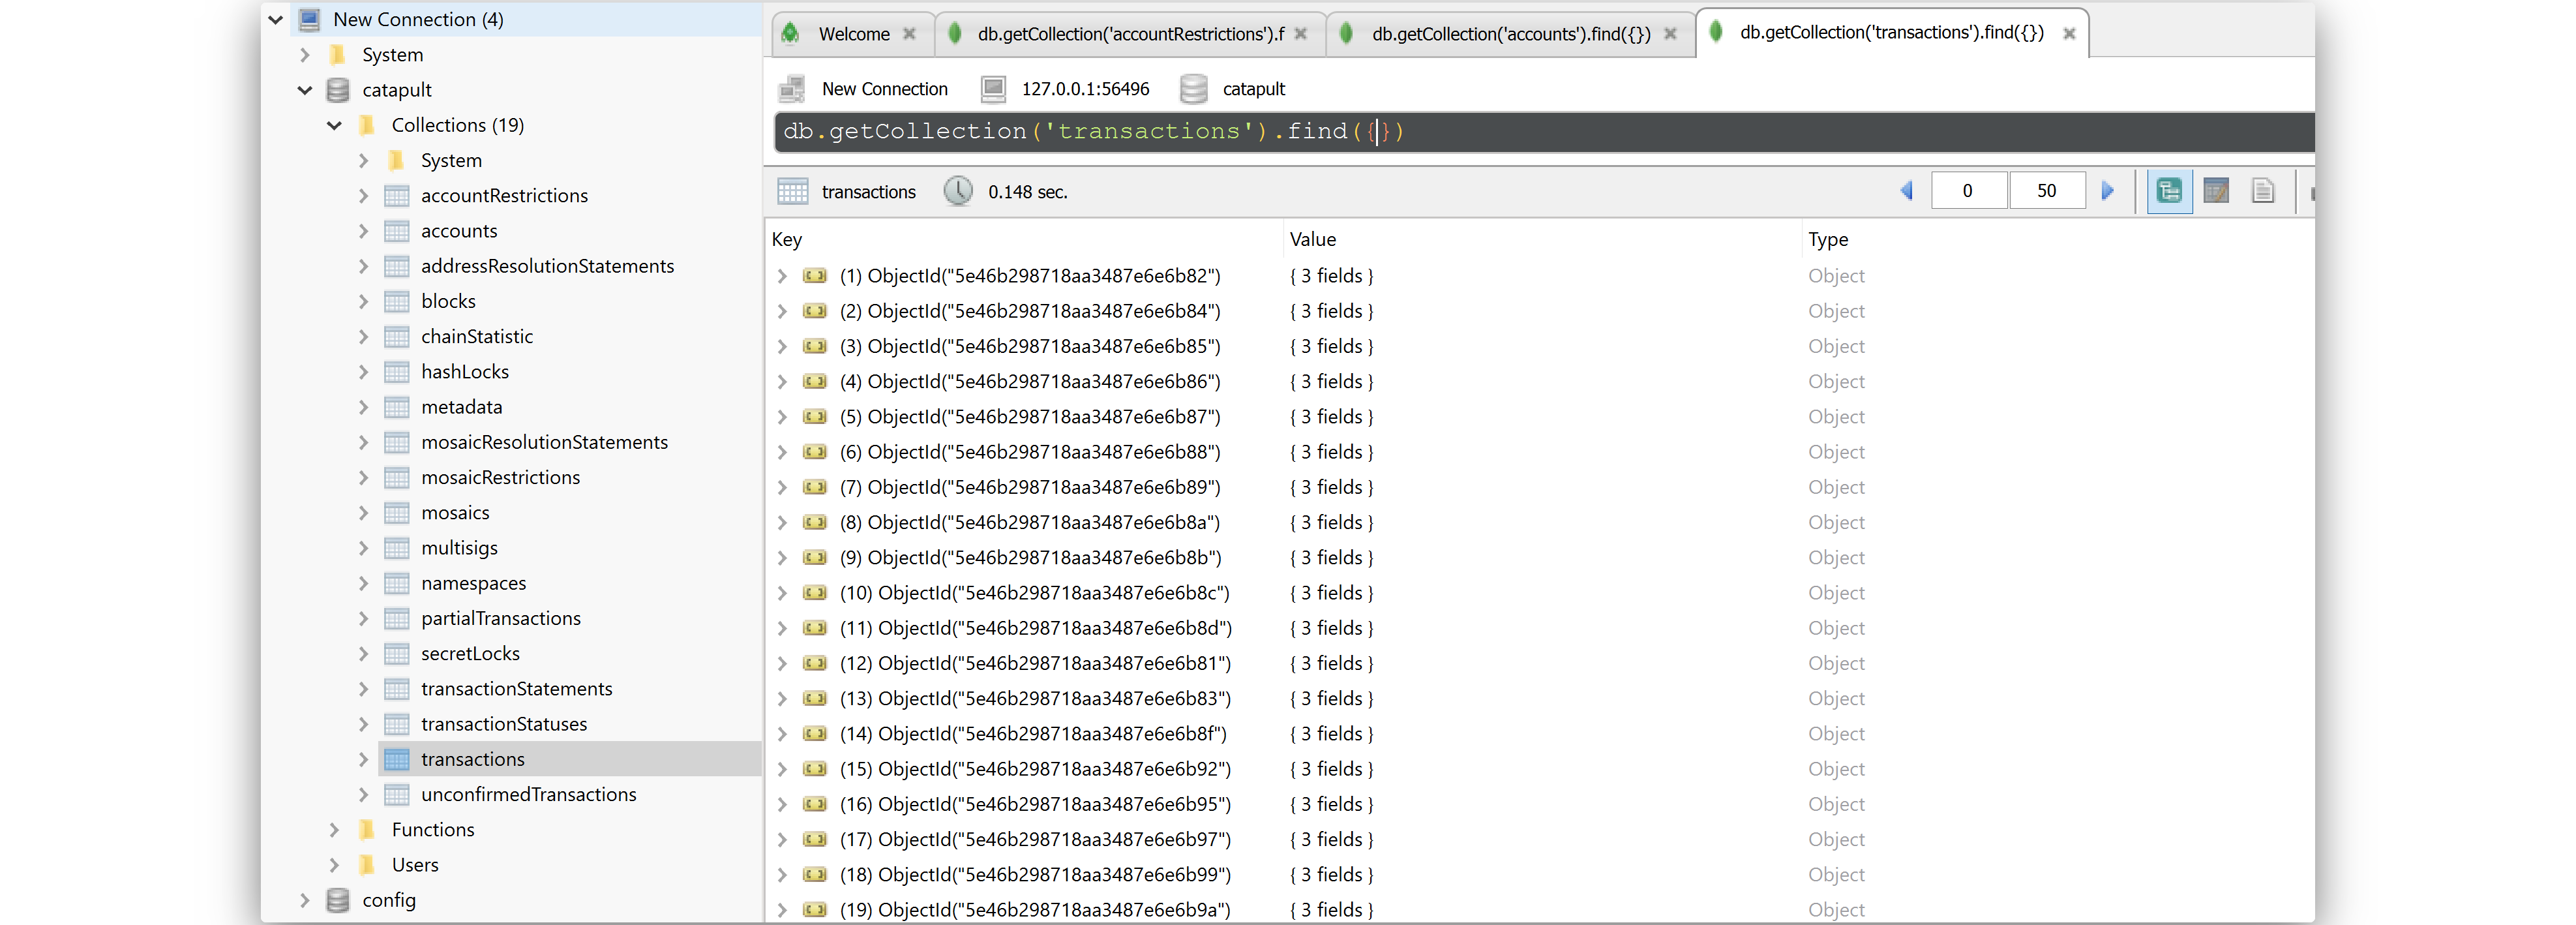
2. In most cases, you may want to filter a set of entries by one of its attributes. To filter, for example, a given transaction type, write a query with the following format on Robo 3T shell:
db.getCollection('transactions').find( { "transaction.type": 16724})
For other advanced queries, check the Robo3T docs.
Click on the “Play” button to execute the query.

 Last updated by